Pages

Sunday, 4 March 2012

Busy, busy crafty weekend

All this weekend I've been super busy crafting. I need to raise money for my Baden Powell challenge, and what better way than making cards? So that means that I've spent 2 days on my living room floor, glueing like mad, and the result is 22 beautiful cards. If I do say so myself.
 Here are some of my favourites. I'm sorry about the rubbish photos, it's been so gloomy recently.
 These lizards made from handmade paper were in my local craft shops bargain basket.
 Wow, I really do love bunting! These chipboards are christmas themed, but they kind of work here.
 Yep, it's bunting galore. And yep, I really love cake.
 Pretty roses...
 More handmade paper, oh how I love that wonderful stuff.
And of course, owls. How would I live without them?

GIVEAWAY!- tree bookmarks

Do you remember the first tutorial I did, of the pretty felt bookmarks? Well, now I've  made so many of them, I don't know what to do with them all!

So, of course, I decided to give one away, to one lucky reader. Just comment on this page, and answer this question.

What's the best thing you've ever bought, sewing related?

My favourite answer will win a cute bookmark!

Guest blogging

Today's post is just to say that if anyone wants to guest post, please contact me at alice.wilson.awesome@gmail.com
I'd really appreciate it, and if you do email, please attach the finished post as a document, and include a little something about you!
Thanks!

Saturday, 3 March 2012

Car boot sale bargains!

I just wanted to show you a very lovely picture I bought at the car boot sale. Guess how much it cost? 50p!
 So pretty, isn't it? As you can probably guess, I do like my chocolate. Parcticularly from Parisian chocolatiers. Mmmm...

Thursday, 1 March 2012

Super-easy paper bunting tutorial

This is a really easy tutorial for paper bunting!

Stuff you'll need

2 metres of ribbon
8 different patterend papers
8 different plain papers
Sewing machine
White thread
Plain card


On the plain card, cut out your triangular template.


 Stack the papers up, and draw around the triangle. (I did 2 because I used double sided paper so I wanted to get both patterns in)
 Cut them all out.


 Order the paper triangles, going patterned, plain, patterned, plain etc. Take your ribbon as well.
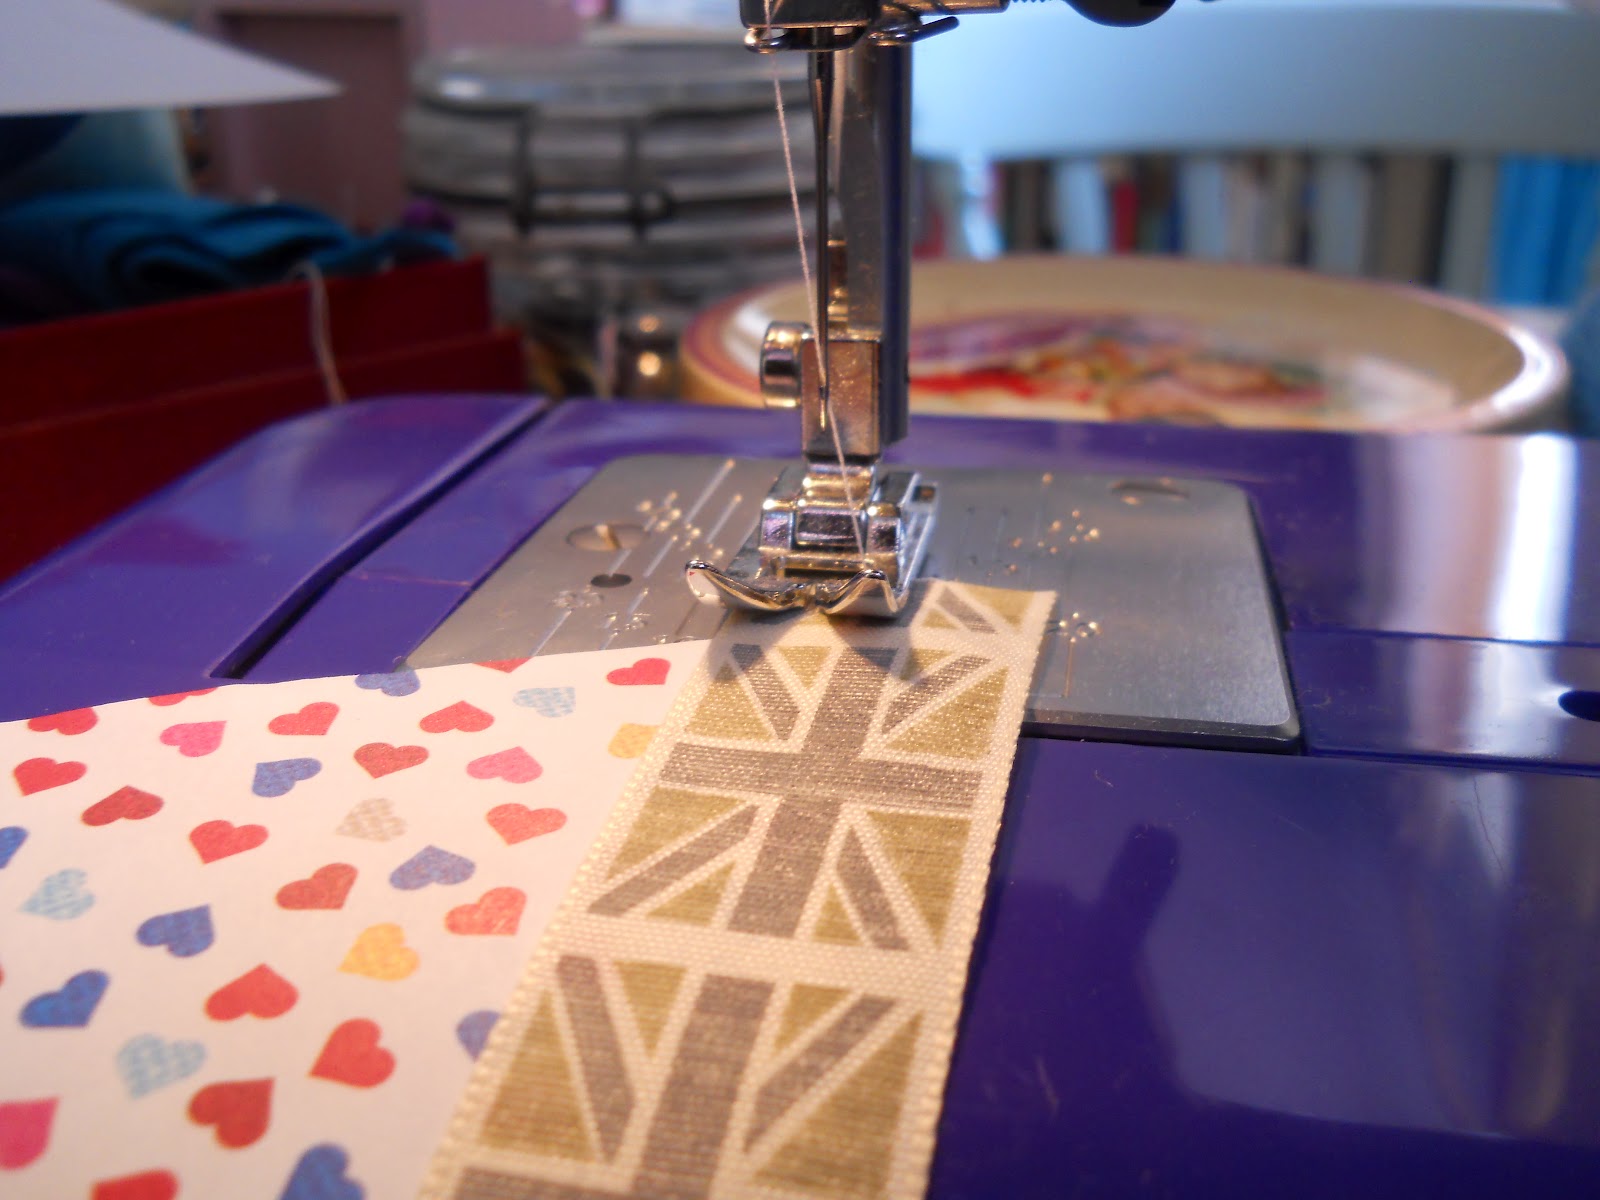
 With a quarter inch seam allowance, place the first triangle at the beggining of the ribbon, and sew all the way across.
 Slip the next triangle in next to it, and sew. Continue until you have sewn all of the triangles on.  
 Trim the ends to match the angle of the triangle, and cut all the threads.
Sew along the top of the ribbon, and secure with 2 or 3 backwards stitches at either end. Ta-daa!


Please do not use these tutorials or content for commercial purposes.

Wednesday, 29 February 2012

Book review- Cath Kidston Sew!

Sew!This is a review of Sew! a Cath Kidston book featuring sewing projects made with her gorgeous florals.

This book is filled with lovely projects, pretty fabric and even prettier pictures. The pages are laid out attractively, the text easy to read, and there's a useful guide at the beginning to things like stitches and buttonholes.

However, there is one big flaw. I find it much easier to follow instructions if they have accompanying diagrams
to show you what it should look like. Often I find myself struggling to make out what they mean, so I give up and just guess as to how the projects should be made. I also wish that they had included the patterns in the book, as it is a lot of hassle to find the webpage, find the right shape, print it off, cut it out and stick the pieces together (some pieces are too big to fit on A4).

The designs are beautiful though, and could easily be updated with more modern fabrics. I also like the way she has rated each design with stars, telling you the difficulty level. All in all, this is a great book, but could do with less pictures of amazing vintage fabrics, and more diagrams and patterns.

Sunday, 26 February 2012

Aaah! Fabric Shoes!

I was reading some of my fave blogs, when I stumbled across a link to this tutorial, which I LOVE! I am going to find some old shoes and fabric glue and start as soon as I possibly can. Many thanks to Jennifer Perkins to coming up with this great idea. I especially love the yo-yo's on the straps.


Click here for the tutorial