


Also, loving the Vivid Please giveaway! Check out their blog at www.vividplease.me to find out more... there is loads of sooo cute geeky stuff.


 Today I visted the car boot slae, as it's been such lovely warm weather. I got loads of bargains! All this stuff plus a sports top and a next jacket, for about six pounds. Now that is what I call a bargain.
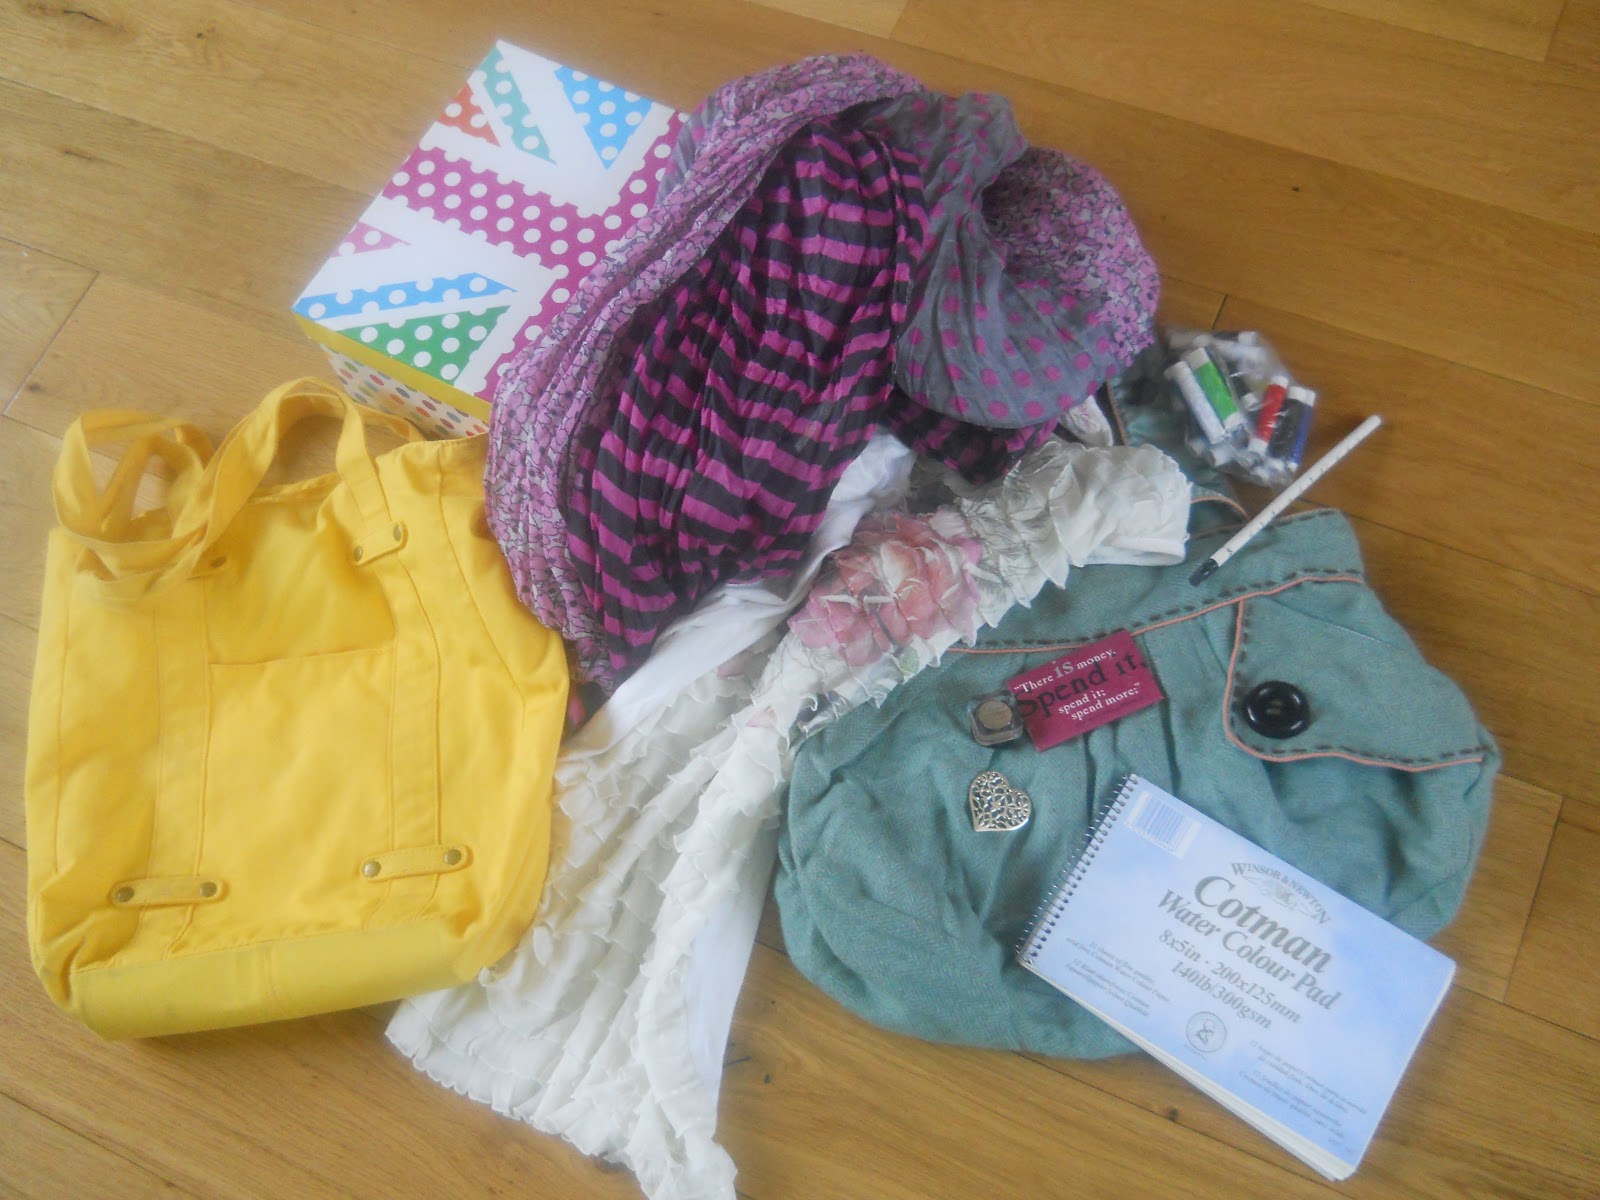
 Here's a fridge magnet with a quote from Shakespeare - " There IS money, spend it, spend it, spend more" That sounds good to me. Also an eyeshadow and heart, which I'll make into a necklace- 20p each! The watercolour pad was the best deal for only 10p.
 This dotty Union Jack box is perfect for storing my papercraft stuff, and along with the thread and pencil, it all came to £1.10


 Fill the tin up, pop on the lid, and ta-daa! An easy storage solution.