Pages

Wednesday 29 February 2012

Book review- Cath Kidston Sew!

Sew!This is a review of Sew! a Cath Kidston book featuring sewing projects made with her gorgeous florals.

This book is filled with lovely projects, pretty fabric and even prettier pictures. The pages are laid out attractively, the text easy to read, and there's a useful guide at the beginning to things like stitches and buttonholes.

However, there is one big flaw. I find it much easier to follow instructions if they have accompanying diagrams
to show you what it should look like. Often I find myself struggling to make out what they mean, so I give up and just guess as to how the projects should be made. I also wish that they had included the patterns in the book, as it is a lot of hassle to find the webpage, find the right shape, print it off, cut it out and stick the pieces together (some pieces are too big to fit on A4).

The designs are beautiful though, and could easily be updated with more modern fabrics. I also like the way she has rated each design with stars, telling you the difficulty level. All in all, this is a great book, but could do with less pictures of amazing vintage fabrics, and more diagrams and patterns.

Sunday 26 February 2012

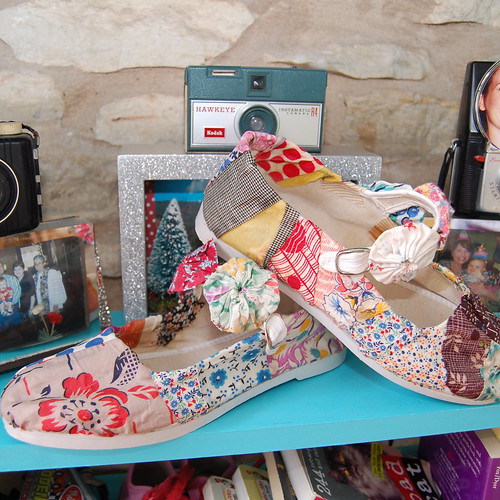
Aaah! Fabric Shoes!

I was reading some of my fave blogs, when I stumbled across a link to this tutorial, which I LOVE! I am going to find some old shoes and fabric glue and start as soon as I possibly can. Many thanks to Jennifer Perkins to coming up with this great idea. I especially love the yo-yo's on the straps.


Click here for the tutorial

Tie for sale!

The tie I showed you earlier is now up for grab on ebay!

Bag tutorial part 2

This is the second part of the tutorial I posted a couple of days ago.

 Using the side of the bag as a template, cut out 2 pieces of wadding slightly bigger than the bag. then using the wadding as a template, cut out 2 pieces of lining fabric bigger then the wadding. Pin the the 2 sets of pieces together.
 With black thread, start quilting at one corner. Use the edges to steer in gentle curves, going first up one row, then down the other, and up the last.

The curves should look something like this.

Repeat with the other set of pieces.Remove all pins, trim the edges and threads.

Using the edge of a fat quarter, cut out 2 roughly 3 1/2 inch strips from fabric A and B for the straps.

 Sew the 2 strips of the same colour together.
 Fold them lengthways, and sew along the edge.
 Turn it inside out, then repeat with the other 2 strips.
 Sew the onto the bag halves, one on each, with a rectangle. Sew along the diagonals of the rectangle for extra strength.
Place the 2 halves of the bag RS together, and sew arond them, with a 1 inch seam allowance.
 Trim around the edges, and cut the corners diagonally. Turn the right way out.
 Take strips of fabric C, and use it to bind the bag.
Ta Daa! A quilted bag.

Thursday 23 February 2012

5 things I love

These 5 things I love are all owl themed...because owls are just obviously amazing. Obviously.

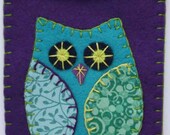
Owl felt gadget / phone case. Free shipping 

 Who wouldn't love a felt owl iPod case? Just plain awesome.


Owl Cushion - Green
So, so cute!! they sell these in Lizzie Bunting, Ross-on-Wye. You can buy them online too here.


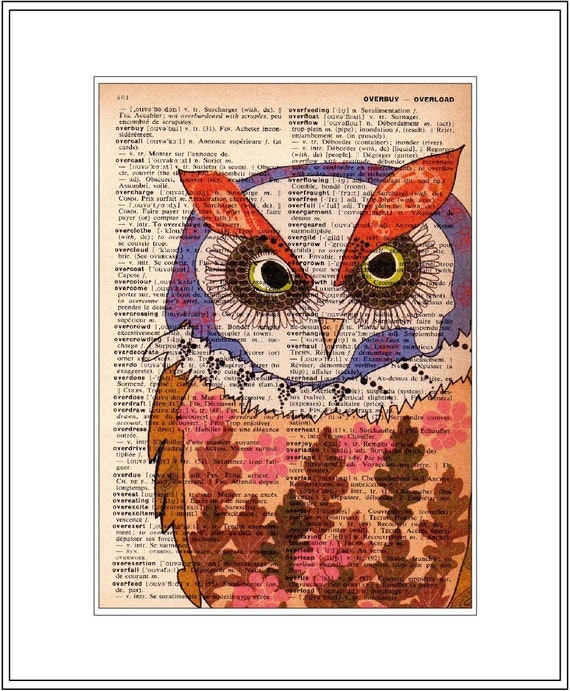
owl decor - owl art print -  vintage dictionary print - vintage owl home decorThis owl print is such a good idea. Owls on newspaper? Count me in.


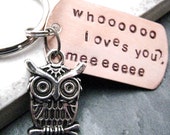
Owl Keychain, Whooo Loves You, Hand Stamped, great gift for family and friends, Best SellerOwl keyrings- I want it now!


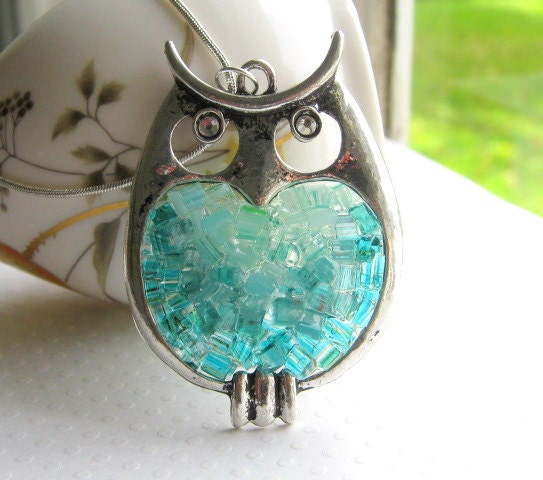
Stained Glass Owl Pendant
This glass pendant is very cute. I especially love that blue, and the lovely little eyes.


Soon the next half of the quilted bag will be up. Now for a question. What's the best thing you've ever found on Etsy?

Wednesday 22 February 2012

Quilted bag- part 1

This is the first part of a tutorial for a quilted bag. I haven't been able to get a photo of the finished thing, but heres one side.  
Equipment
1 fat quarter black
1 fat quarter pattern A
1 fat quarter pattern B
1 fat eighth patter C
1 metre lining fabric
Wadding, about 0.75 metres
Pins
Sewing machine
Tailors chalk
Black thread

How to

Draw 36 2 inch times 4 inch rectangles on the BLACK fabric with the tailors chalk. Cut them all out. 


Draw 18 4 inch times 4 inch sqares, 9 on fabric A and 9 on fabric B, then 16 2 inch times 2 inch squares
C. Cut them all out.

Arrange 9 of the big squares in a pattern going ABA, BAB, ABA


Pin a black rectangle and the first square RS together.
Sew them together with 1/4 inch seam allowance.

Continue adding rectangles and squares until you get a strip looking like this.


Take a black rectangle and small square- pattern C- and sew them together, RS together.

Keep attaching rectangles and squares until you get a strip like this.
Time to press all your seams! Lay them out like this on your ironing board, and flip over the leftmost one.

Press all the seams so they face towards you.
Press on top to smooth out any wrinkles.
Take the next strip, and press the seams so they face away from you. Press on top as well. Continue like this, pressing first towards, then away from you.
Pin your first 2 strips RS together.

Sew along the seam, with a 1/4 inch seam allowance.
Continue to sew the strips together, and iron the seams. For the other half of the bag, do the same as above, but place the 4 inch squares BAB, ABA, BAB.

Saturday 18 February 2012

Bargain hunting in charity shops

I love searching through charity shops for bargain finds. As well as obviously finding crafty things, they can be a great source of inspiration. For instance, pretty patterns on a charity shop jumper gave me an idea for brooches! Today I found a gorgeous tie, that I'm planning on making a tie purse with. My dad wants to buy it off me though, since it's apparently from a posh London tailors- anyone heard of Gieves and Hawkes? But you probably want to see a picture of the tie, rather than read me babbling on about it. 
Lovely, isn't it? It feels amazing, really thick and plush.

What's the best thing you've ever found in a charity shop?

My top 5 crafty blogs

Before I started this blog, I read a LOT of other crafty blogs, and I still read them because they are AMAZING! I wish that I was that good at blogging. But on with the list we go...

No. 5 : Sew, Mama, Sew! This blog is an extension of their shop, and offers great insights into the world of craft. They have a lot of guest bloggers, so there's great variety in the tutorials, patterns and posts.


Welcome!No. 4 : Doll Doll Dolly. I think this is a great blog, with some inspirational posts like "Craft with Confidence". She also sells on Etsy under Doll Doll Dolly, so head over and have a look!
No. 3: Bugs and Fishes. I couldn't find a button to grab on this lovely blog, but instead I used a picture of her new book! Lupin crafts for a living and as well as things from her shops, she has free tutorials, giveaways and tips. 
Moda Bake ShopNo. 2 This isn't really a blog, but the Moda bakeshop offers such amazing free tutorials, I thought I'd include it anyway. It's bakery themed, with the tutorials called 'recipies' the contributors 'chefs' and the main blog 'the bakery'
InstagramWallNo. 1 A Beautiful Mess. This is the lifestyle blog of Elsie Larson, and the picture here is of one of my favourite projects, the instagram photo wall. She ranges from projects, beauty recipies and decor, to photography and outfits! It's a great blog, basically.  

Friday 17 February 2012

My purple sewing machine + lots of lovely buttons


Just wanted to show you a pic of my lovely sewing machine, in all it's purple glory.
These are some amazing vintage buttons my lovely grandma down in Kent gave me. They came in the rather wonderful tin below, a vintage quality street tin! Does anyone know when it's from? I looked on the internet, but failed miserably.

Tree bookmarks- TUTORIAL


These sweet bookmarks are inspired by the cold weather, and I wanted something in warm, bright colours to cheer me up!

Supplies 
Scraps of red, yellow, orange, burgundy, dark brown and light brown felt.
White thread
A needle (Big enough eye to fit doubled up thread through)

How to


Cut a long thin rectangle from dark brown felt, and a circle from the light brown. These will form the body of your bookmark. It looks good cut with pinking shears, but if you don't have any, just use normal scissors. Then cut about 3 or 4 leaf shapes from the red, yellow, burgundy and orange.


Thread the needle with doubled up thread, and using backstitch, sew together the circle and rectangle. Go over your stitches again, to secure the pieces together properly, because this is the main body of your bookmark.
Position your first leaf in place, then backstitch along the center of it with the doubled up thread. The stiches look like the vein of the leaf, and show up best in white, though you can try other colours as well.
Continue adding leaves, and try to position them so that they aren't all facing outwards. Vary your stiches as well, with random ones bigger or smaller so it looks more natural. Another tip is that if a leaf doesn't fit in the space, trim it down! It won't look as good if the leaf shapes are all exactly the same. 
Ta-daa! These bookmarks are great even out of autumn, and they can be adapted to any season.
This tutorial is for non-commercial purposes only.